Manage API keys, users, RBAC roles, audit logs, and organization settings
Admin & Settings
The Admin section is visible to users with the admin role. It covers API key management, user accounts, audit logging, and organization settings.
API Keys
Go to Admin → API Keys.
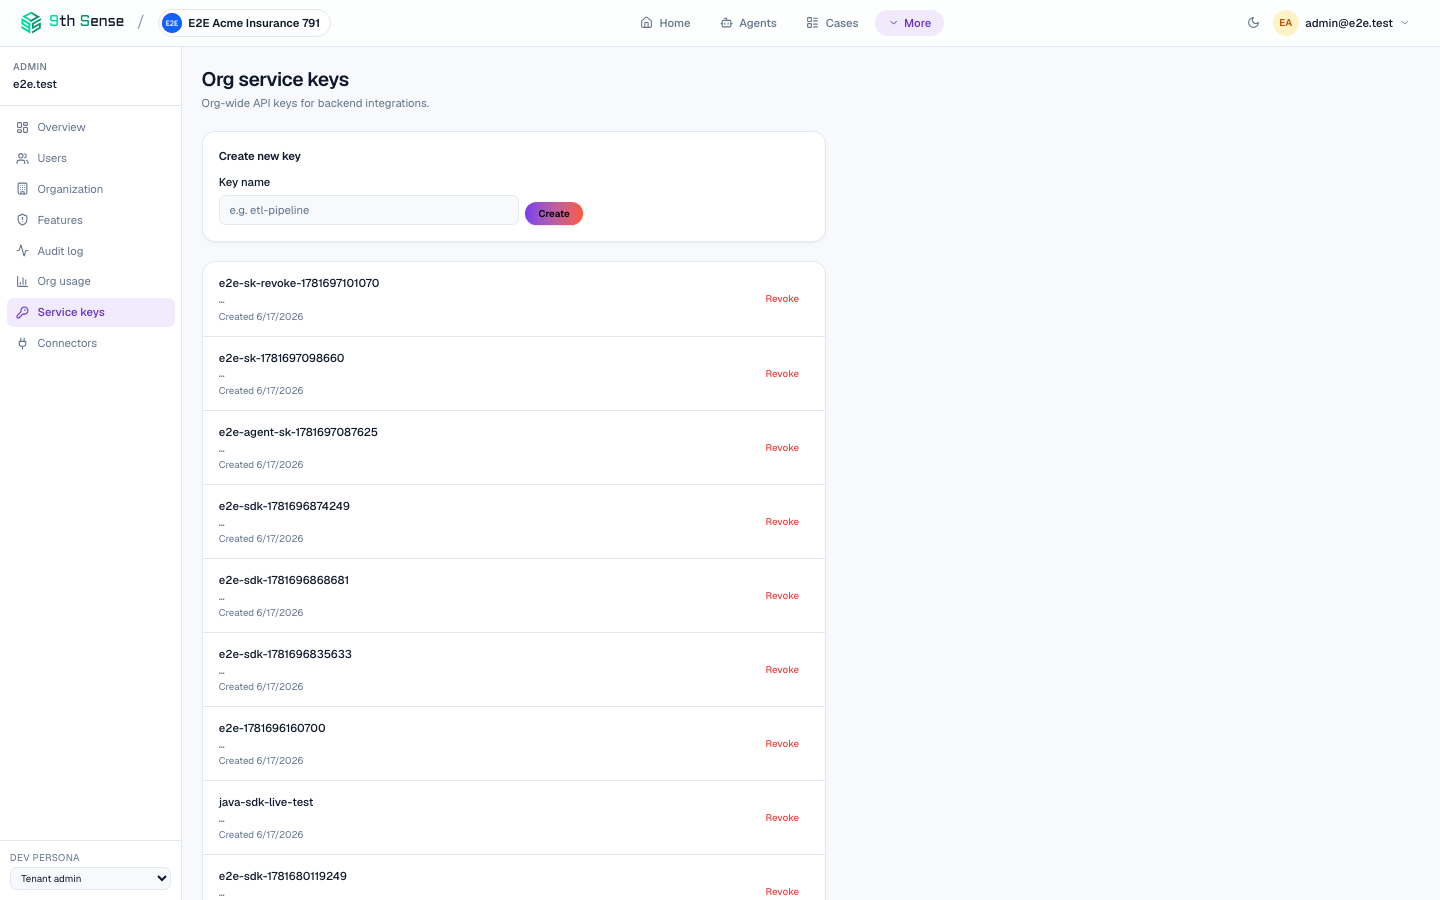 Service keys page showing existing keys with names, creation dates, and Revoke buttons, plus a Create new key form at the top
Key format
Every 9thSense API key follows the pattern zk_<prefix>_<secret>:
zk— fixed sentinel so you can grep for leaked keys<prefix>— 12 hex characters, stored in plaintext for lookup<secret>— 32 hex characters, never stored — shown once at creation
Keys are bcrypt-hashed server-side. If you lose a key, revoke it and create a new one.
Creating a key
Click New Key
Click + New Key in the top-right of the API Keys list.
Name the key
Give it a descriptive name so you can identify it later (e.g. "Production backend", "CI pipeline").
Select scopes
Choose one or more scopes:
| Scope | Permitted operations |
|---|---|
read | GET endpoints — list cases, get executions, view analytics |
write | POST/PUT/PATCH — create cases, upload documents, run pipelines |
admin | Key management — create, list, revoke API keys |
Use the minimum scope required. Most backend integrations need only write.
Copy the key
Click Create. The full key is displayed once. Copy it immediately — it cannot be retrieved after you close this dialog.
Revoking a key
Click the trash icon next to any key and confirm. Revoked keys return 401 immediately. Revocation is permanent and cannot be undone.
Revoking a key breaks every service using it. Before revoking, rotate the key first: create a new one, update your services, then revoke the old one.
Users
Go to Admin → Users.
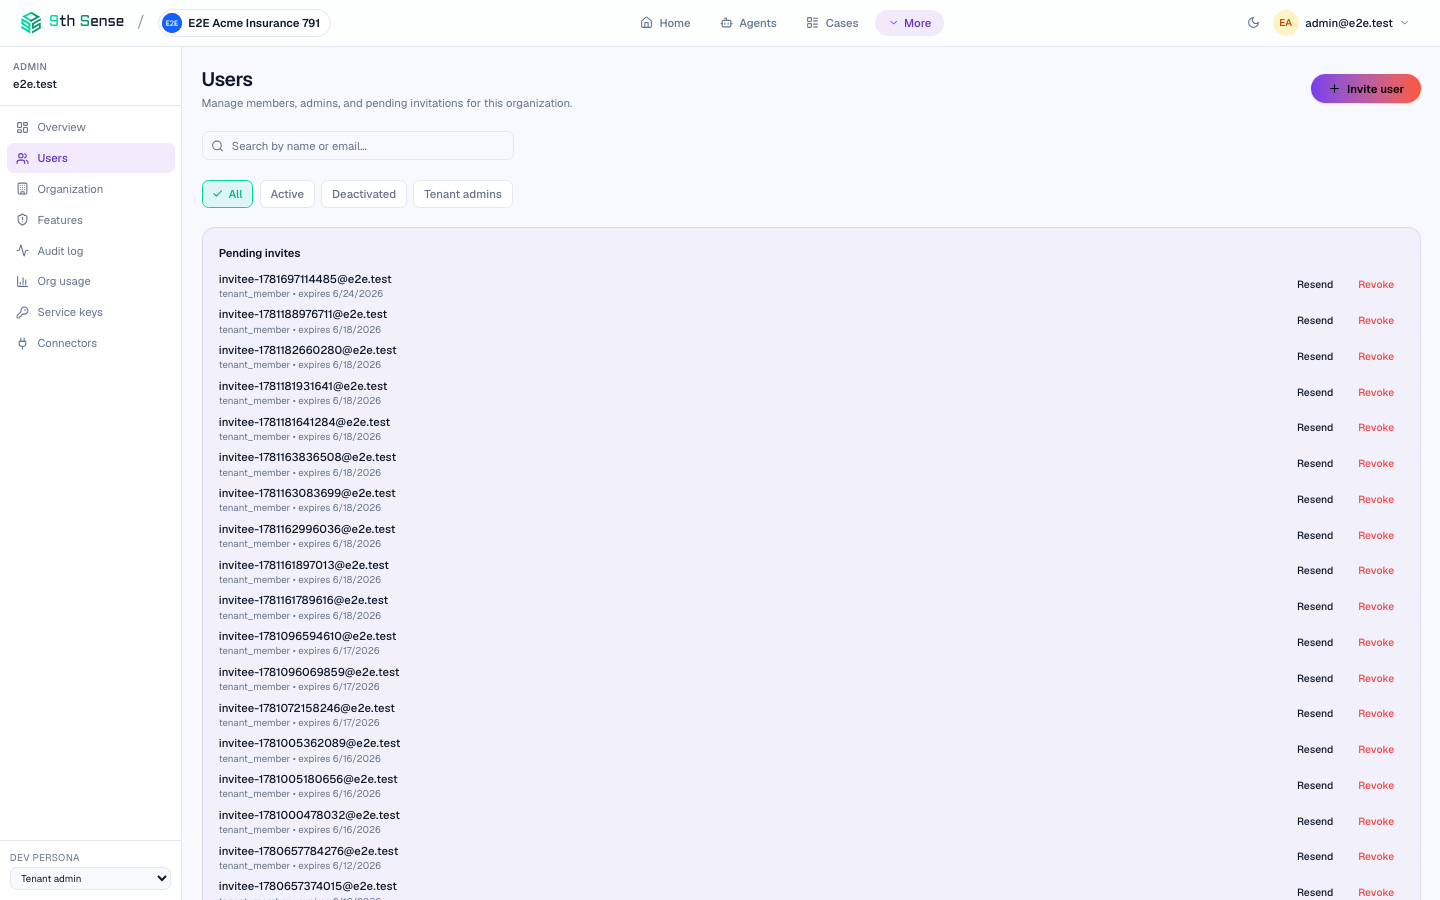 Users management page showing user accounts with role badges, invite status, and Remove actions
Inviting a user
- Click Invite User.
- Enter their email address and select a role.
- Click Send Invite.
The invited user receives an email with a link to set their password. The invite expires after 48 hours. Resend from the Pending Invites table.
Roles
| Role | What they can do |
|---|---|
| Viewer | Read-only access to Cases, Agents, and Analytics. Cannot run tools or modify anything. |
| Operator | Create and review cases. Cannot build agents or access Admin. |
| Builder | Full access to Cases, Agents, Playground, and Document Types. Cannot access Admin. |
| Admin | Full access to everything, including Admin settings. |
Changing a role
Click the role badge next to any user to open the role editor. Select a new role and confirm. The change takes effect immediately — the user's next request will use the new permissions.
Removing a user
Click Remove next to a user. Their account is deactivated immediately. Any cases they opened remain intact. A removed user can be re-invited by email.
Audit Logs
Go to Admin → Audit Logs.
Every action taken in the dashboard and via the API is logged here. Each entry records:
| Field | Description |
|---|---|
| Timestamp | Exact time of the action (UTC, millisecond precision) |
| Actor | User email or API key prefix that performed the action |
| Action | What happened (e.g. case.created, agent.deployed, key.revoked) |
| Resource | The specific resource affected (e.g. case ID, agent ID) |
| IP address | Source IP of the request |
| Result | success or denied |
Filtering
Use the search bar to filter by actor email, action type, or resource ID. Use the date range picker to narrow the window.
Export
Click Export CSV to download the visible log entries. The log is retained for 90 days by default (contact your account manager to extend retention).
Organization Settings
Go to Admin → Organization.
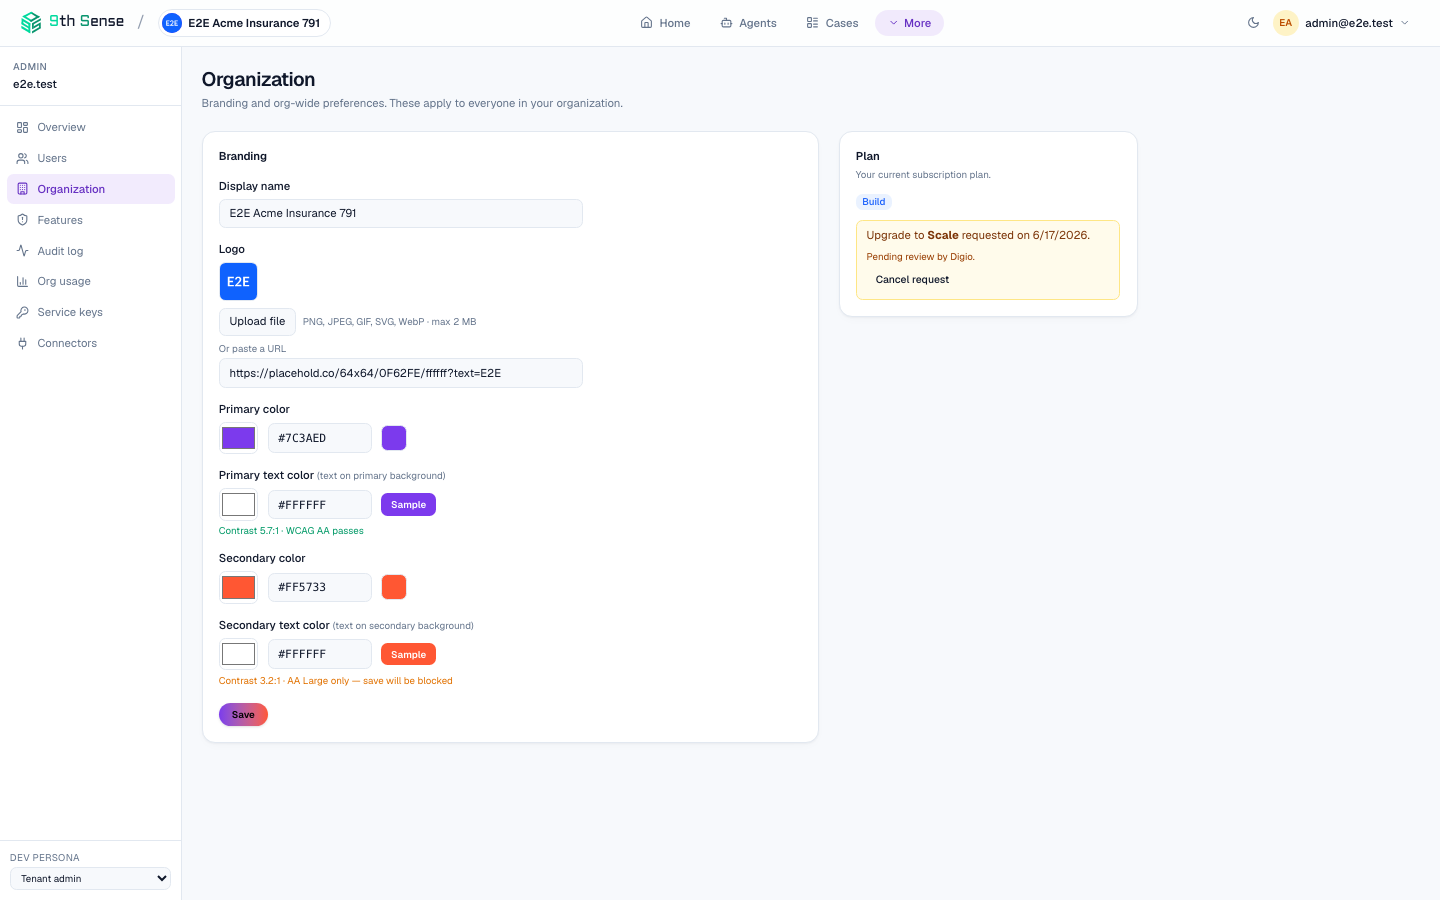 Organization Settings page showing organization name field, allowed email domains, session timeout, webhook secret, and self-hosted AI endpoint configuration
| Setting | Description |
|---|---|
| Organization name | Display name shown in the dashboard header |
| Allowed email domains | Restrict invitations to users at specific domains (e.g. yourcompany.com) |
| Session timeout | How long before an idle dashboard session is logged out (default: 8 hours) |
| Webhook secret | Global HMAC-SHA256 secret used to sign all outbound webhook events. Rotate here if compromised. |
| Self-hosted AI | Enable/disable routing inference to your own self-hosted model endpoint. Configure the endpoint URL here. |
Click Save after any change. Changes take effect within 60 seconds.
Connectors
Go to Admin → Connectors to configure integrations with external systems:
- Storage — configure an S3-compatible bucket for document storage (default: 9thSense-managed encrypted object storage)
- SMTP — configure your own SMTP server for system emails (password resets, invitations)
- Slack — send case review notifications to a Slack channel via webhook
Each connector shows a Test button that sends a test payload to verify the integration before saving.